
C y p r e s s T e c h n o l o g i e s
Online Manual
|
|
C y p r e s s T e c h n o l o g i e s |
Message Parse Email Processor Online Manual |
|
|
Data Variable Properties
The Data Variables Properties window is where you create variables for the extracted data. There are several options that tell Message Parse how to find and output that extracted data.
|
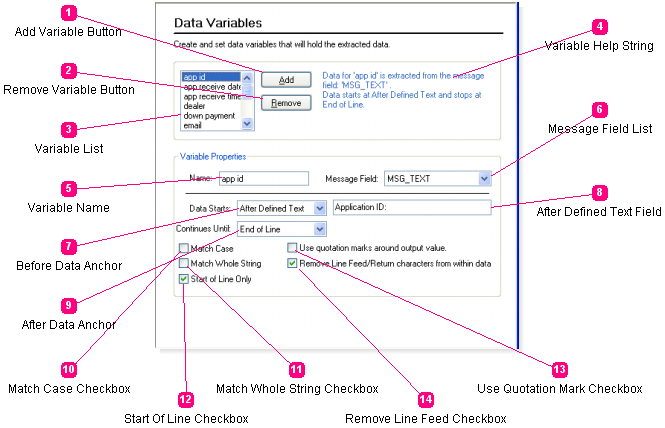
 Add Variable Button
 Remove Variable Button
 Variable List
 Variable Help String
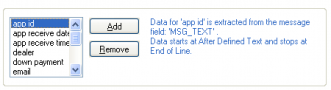
 Variable Name
 Message Field List
 Before Data Anchor
 After Defined Text Field
 After Data Anchor
 Match Case Checkbox
 Match Whole String Checkbox
 Start Of Line Checkbox
 Use Quotation Mark Checkbox
 Remove Line Feed Checkbox